

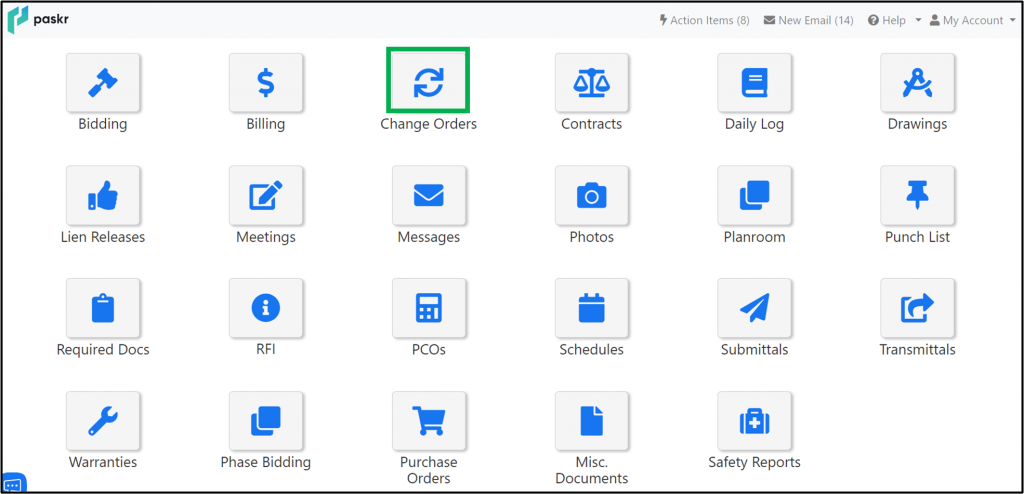
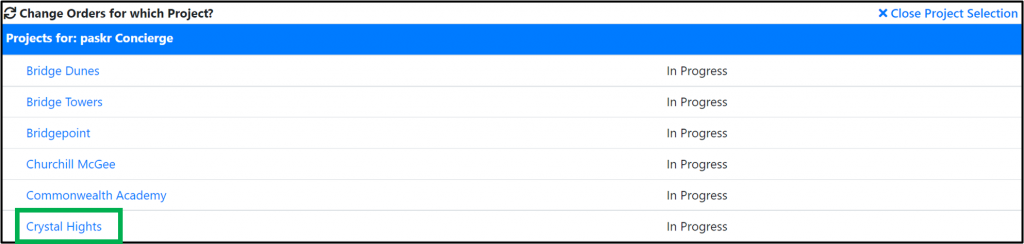
From the main dashboard, select Change orders > then select the Project.
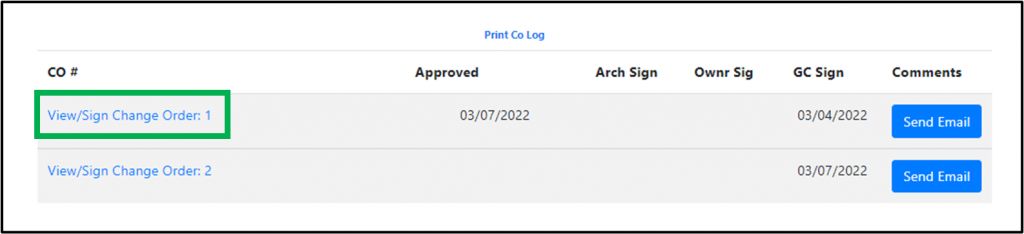
To view or sign the change order select, View / Sign Change Orders.
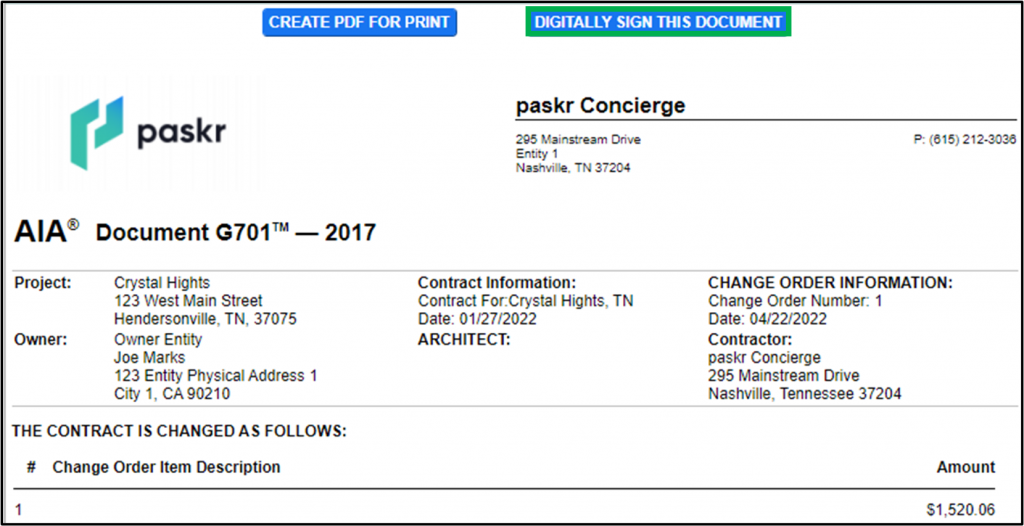
To sign the Change order, click the Digitally Sign this Document button.
From the main dashboard, select Change orders > then select the Project.
To view or sign the change order select, View / Sign Change Orders.
To sign the Change order, click the Digitally Sign this Document button.
From the main dashboard, Click Meetings then the Project.


To view the meeting minutes, click on the ellipse icon > print

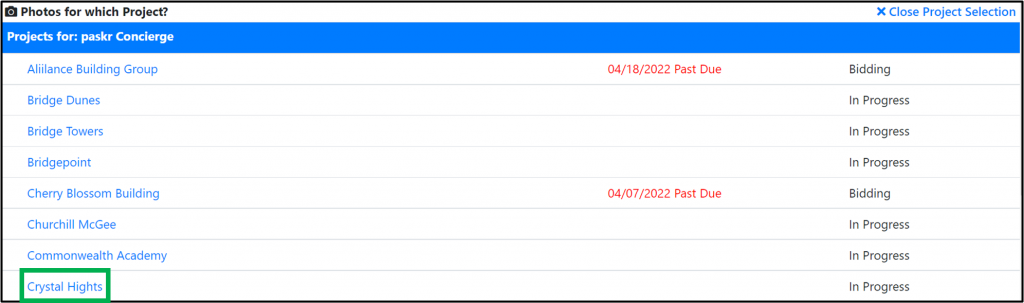
From the main dashboard, click photos then select the project.
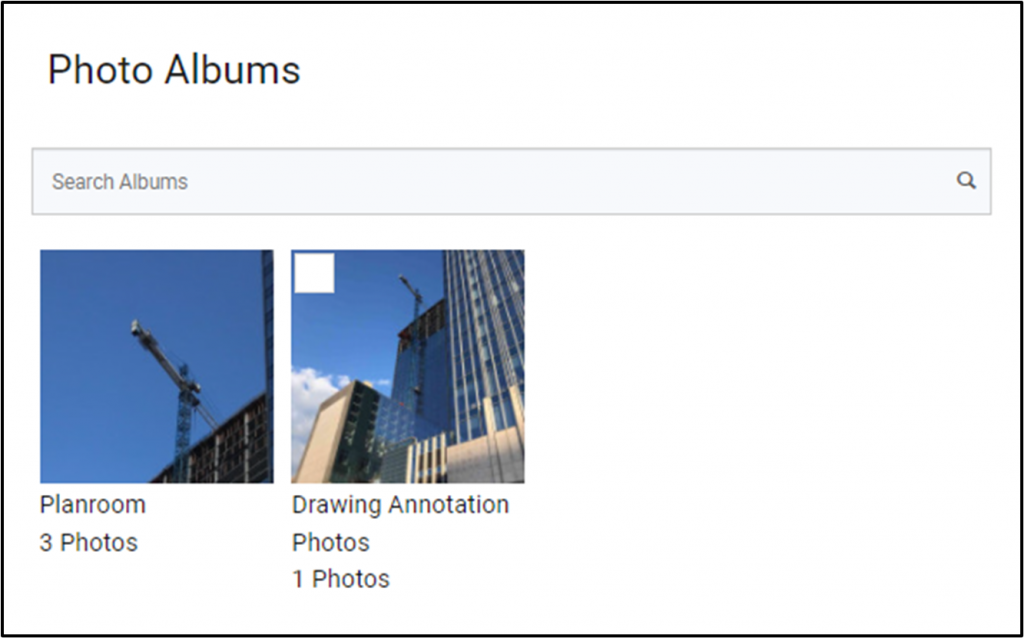
Select an album to view.
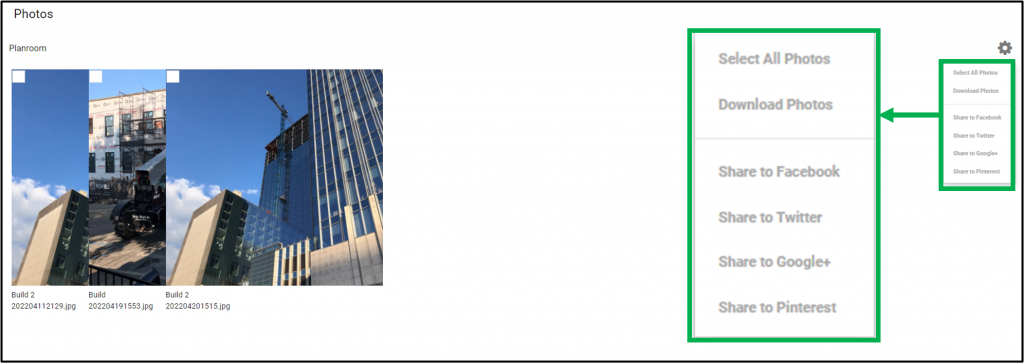
Select the photos by checking the boxes next to the photos you wish to download. Click the Gear to download the photos.
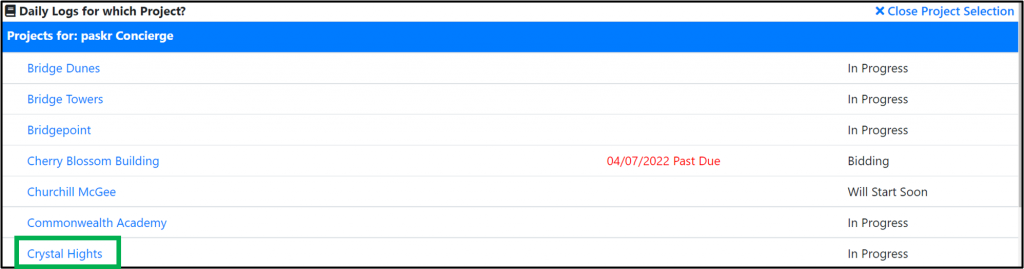
From the main dashboard select Daily log > then select the project name.

The daily log window opens click on the (…) to print and see the full daily log.

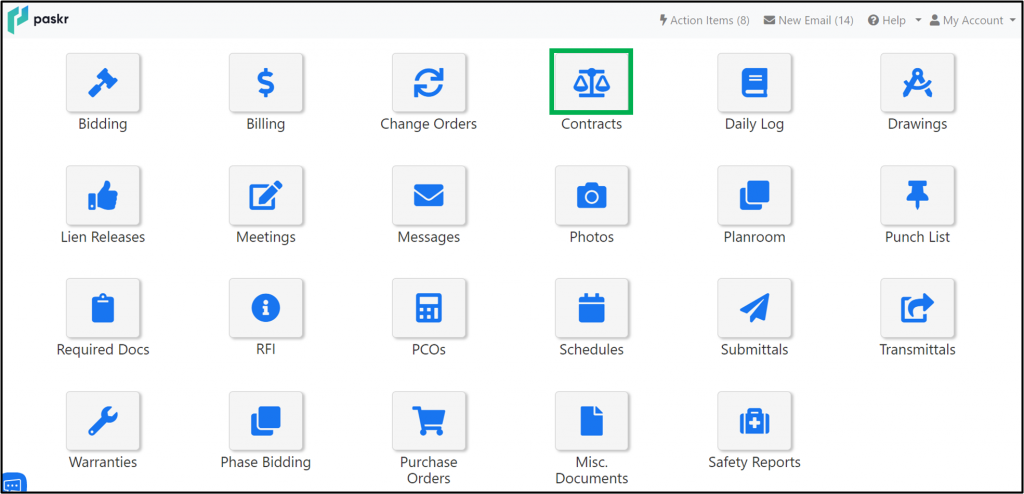
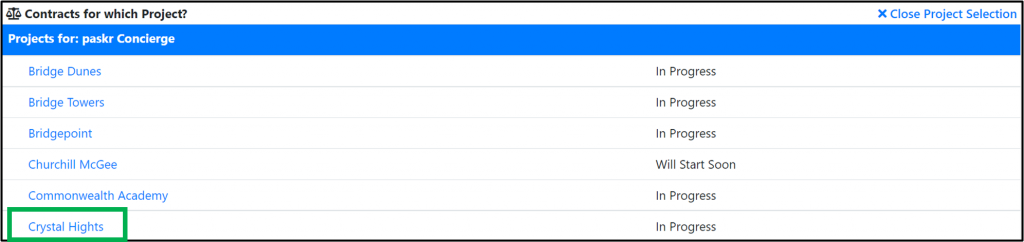
From the main dashboard select Contracts > select the Project Name.
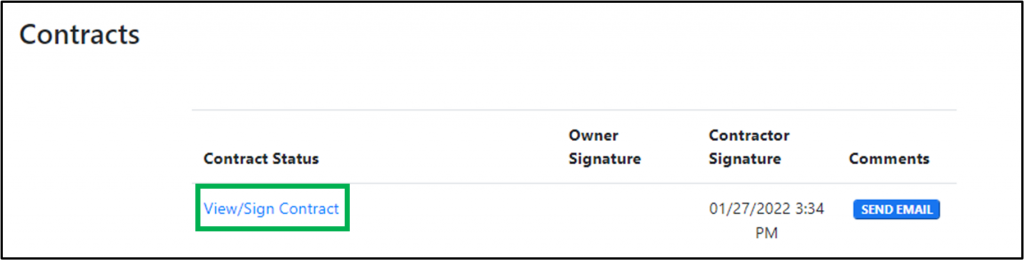
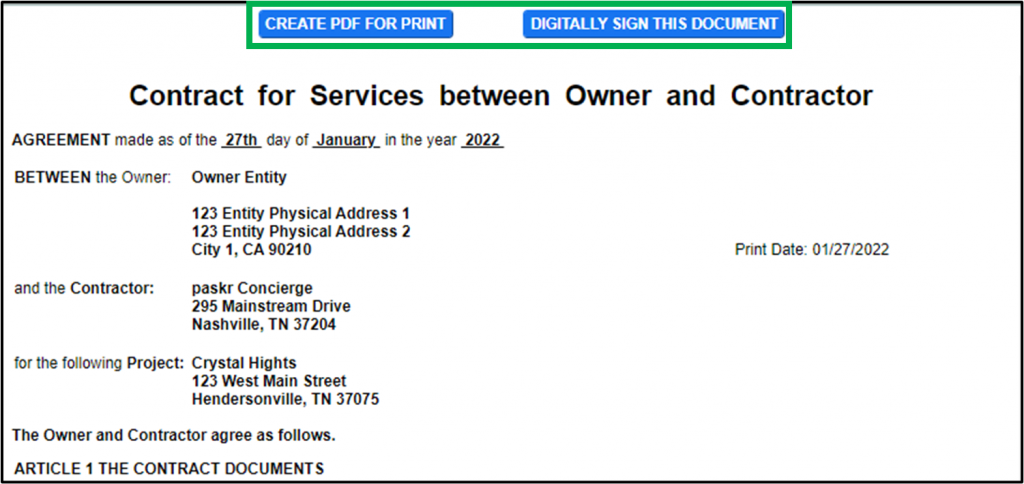
Select View / Sign Contract. This will launch a new window that contains electronic versions of the contracts.
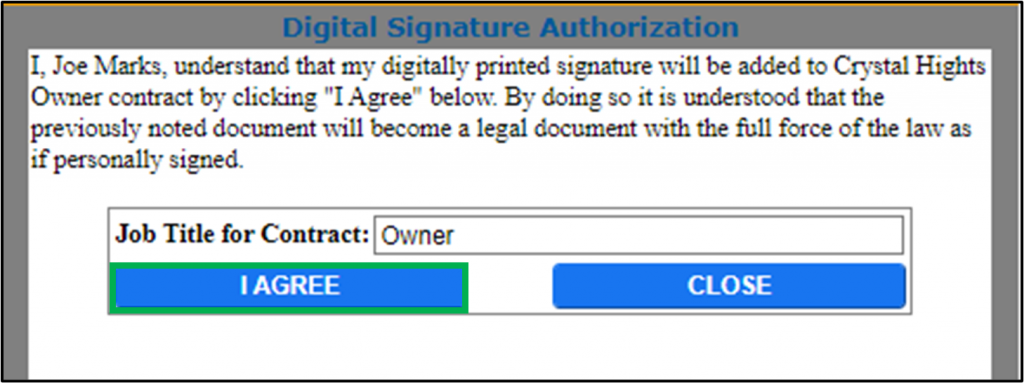
Click Digitally sign this contract > I agree > Ok > Close window. You can also create a PDF to download to your computer or print.
To view any of these documents click on Planroom > select the project.


Click on drawings. This will show you all of the drawing categories. Click on each drawing category to reveal the list of drawings. Click on the drawings to want to open to view or print a PDF.

To view Specifications, click on Specifications. This will show you all of the specification categories. Click on the category you want to open to view or print a PDF.

To view Addenda. Click on Addenda. This will show you all of the addendums attached to the project. Click on the Addenda you want to open to view or print and PDF.

To view Photos. Click on Photos. This will show you all the photos attached to the project. Click on the Thumbnail to open the photo. To download the photo, click on the checkbox in the corner of the photo and choose Download photo.

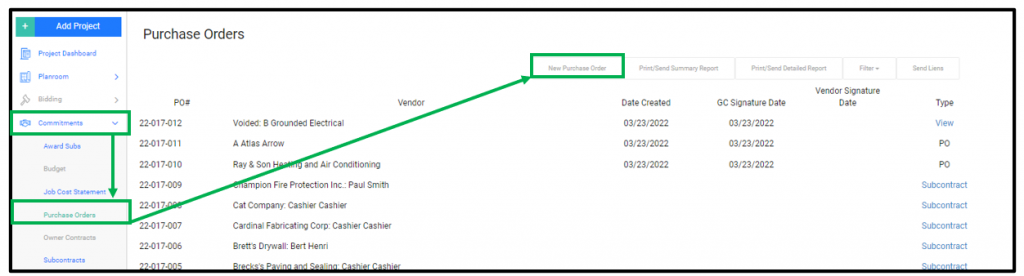
To create a Purchase Order, from the left-side menu click Commitments > Purchase Orders >New Purchase Order
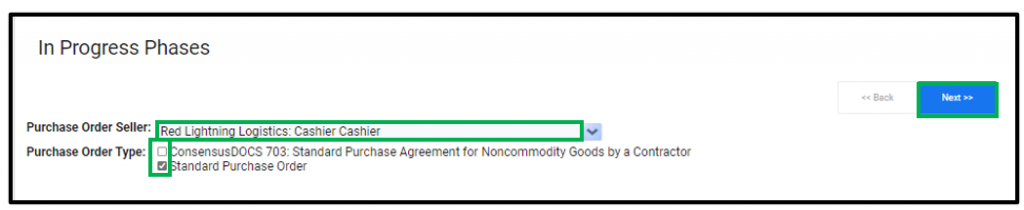
Follow the instructions below to complete the Purchase Order Form:
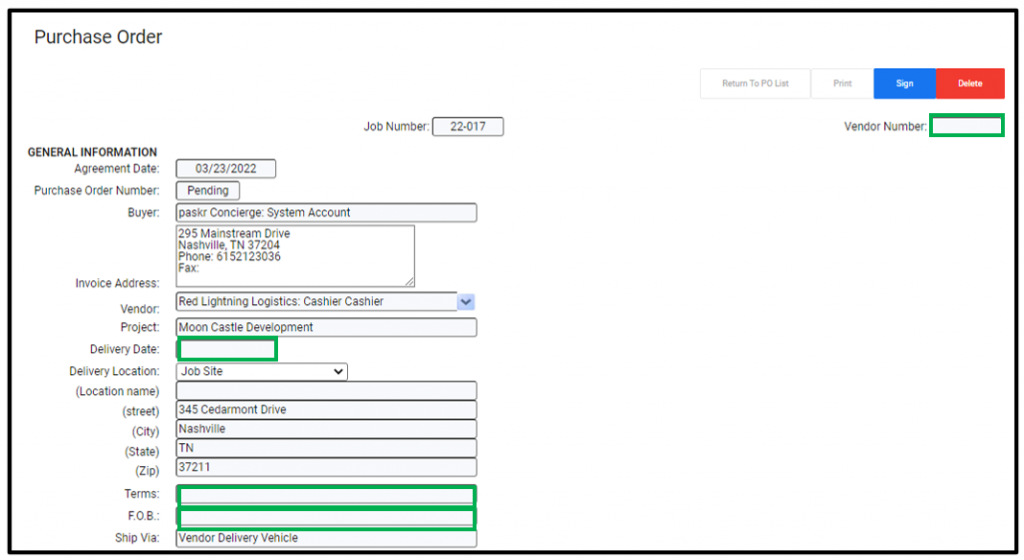
Choose the Vendor from the Purchase Order Seller box and check the box below for the PO type. Then select Next.
You will select a Delivery Date, Choose the ‘Ship To’ location and type the address if it differs from the project address. Type in the terms, FOB Point and Ship Via if needed.
If you created a Nested Bid Assembly when the project was in the Bidding Status by clicking on the “down arrow icon” and creating a list of materials to purchase, you will select them from this drop-down list. Click the blue hyperlink for each item you would like to add to the Purchase Order.
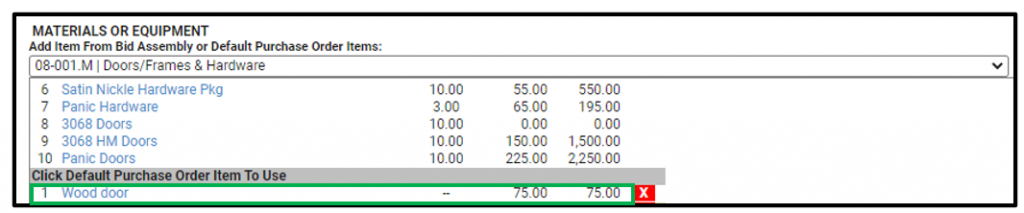
If you need to enter items that were not part of a nested assembly you will add them in the area below.

Select the item (this list includes all material items in the cost worksheet), type the description, enter the quantity, enter the unit price, the total will calculate automatically, click ADD. Then repeat until complete. Adjust sales tax rate if necessary, and also add shipping/handling or Misc. Additions if applicable.
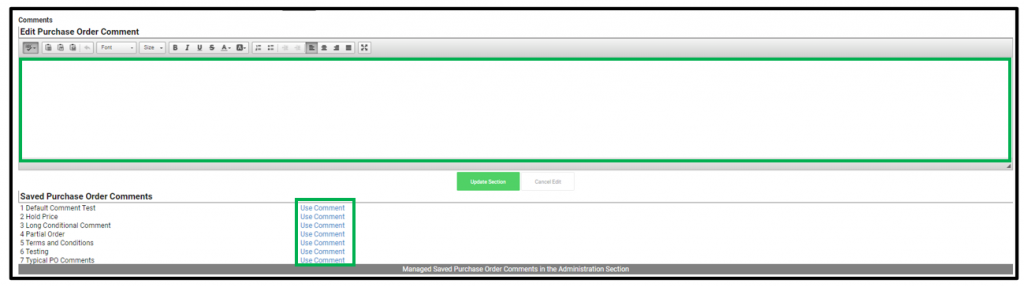
Once all items are entered, you can Add Comments. You can type a Purchase Order comment for this PO. Or if you have a list of saved Purchase Order Comments which you added in Administration, click on Use Comment to choose which ones to apply to the list.
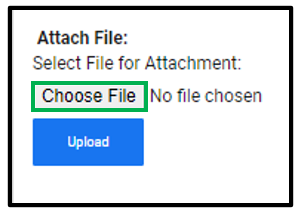
Just below the PO Comments, you have the Attach File button. If you have any other documents you need to attach to the PO to provide further instruction/information for the Vendor…Choose File and Upload.
SIGN AND SEND
At the top of the Purchase Order form you will then sign and send the Purchase Order. Click Sign.

Click Digitally Sign.

Click OK.
Then you will see this message:

Viewing the PO
To View a Purchase Order after it has been created, click on Commitments>Purchase Orders>Click on the PO Date under the Sent Column to view the PO.


PO Example:

Importing a PO
To import a PO that was signed outside of RedTeam Go, click on the Import button. Select the PO from your computer and import.


Adding to the PO
If you have more materials that you need to add to a Purchase Order down the road, you can click Add to PO. This will generate a PO with the original Cost Commitment number with a dash A1, then number sequentially for each addition to the Purchase Order after that. Complete the form just as you did the original PO.

Void a PO
If you need to cancel a Purchase Order after it has been signed and sent to the Vendor, you can Void it. From the Purchase Order list, click on the VOID button to the far right of the PO line item.

Confirm that you want to Void the Purchase Order.

Send an updated budget to your accountant.

You will create and manage the Punchlist by going to Close Out>Punchlist. You will begin by adding tasks to be completed by area and have the ability to assign them to a responsible party along with a due date for completion of the work.
To create the Punchlist, click on Close Out>Punchlist.


Next you will:
Add Photo to Item
To add photos to an item:


Add Notes to Item
To add notes:


To Close a Punch List Item once Completed
Hover over the ellipse and select close (tag the item as complete), delete, or send an email about the item.

To Edit the Punch List Item after it has been Created
To edit your Punch List item after it has already been created, simply click on the blue hyperlink you want to make changes to. This way you can update the Location, Item Description, Item Assigned to, Due Date, or Options.

Sending the Punchlist
Click on the Gear Settings icon in the upper right corner of the screen. Select a Send Punchlist option and report style.

You will go to Close Out>Warranty Letters to add a start date for the warranty period and complete the Warranty Letter from the General Contractor, as well as send Subcontractors their warranty letters to be signed and returned electronically.

Warranty Letters
Warranty Letters can be requested by the GC to the Subcontractors once the Subs have completed their final billing.
You will enter in the Warranty period and Start Date. Then, save the information. Once saved you will check all and send the request for sub signature to your subcontractors. They will return signed electronically.
