- Home
- Upcoming Live Training Sessions!!
- Webinar Recordings
- Implementation Courses
- Getting Started Guide For Admins
- RedTeam Go Navigation
- Gear Icon
- Administration
- Contacts
- Projects
- Planroom
- Estimate (Base Bid)
- Bid Invitations
- Proposal Package
- Construction Buy Out
- Contracts
- Daily Logs
- Photos
- Billing
- Schedules
- Submittals
- Transmittals
- Request For Information (RFI)
- Potential Change Orders (PCOs)
- Change Orders
- Owner Change Orders
- Subcontractor Change Orders
- Internal Change Orders
- Meetings
- How Do I Add Meetings?
- Close Out
- Job Costs (Purchase Orders & Expenses)
- Required Documents
- Accounting
- Reports
- Superintendent
- Subcontractor
- Architect
- Owner
- Mobile
- Release Notes
- Glossary of Terms
- Accounting
Hello. How can we help you?
How Do I Create And Manage The Punchlist?
You will create and manage the Punchlist by going to Close Out>Punchlist. You will begin by adding tasks to be completed by area and have the ability to assign them to a responsible party along with a due date for completion of the work.
To create the Punchlist, click on Close Out>Punchlist.


Next you will:
- Enter Due date of item.
- Type in Location (Room number).
- Select Subcontractor from drop down list.
- Type or paste item description in the box on the right.
- Save.
- Repeat these steps until all items are entered.
Add Photo to Item
To add photos to an item:
- Click the photo icon (icon will be enlarged if there are photos to view).
- Click the + sign to Add photos.
- Select photos from hard drive.
- Rename if desired.


Add Notes to Item
To add notes:
- Click the note icon (icon will be enlarged if there are notes previously entered).
- Type note in text box.
- Save.


To Close a Punch List Item once Completed
Hover over the ellipse and select close (tag the item as complete), delete, or send an email about the item.

To Edit the Punch List Item after it has been Created
To edit your Punch List item after it has already been created, simply click on the blue hyperlink you want to make changes to. This way you can update the Location, Item Description, Item Assigned to, Due Date, or Options.

Sending the Punchlist
Click on the Gear Settings icon in the upper right corner of the screen. Select a Send Punchlist option and report style.
- Send Punchlist by Subcontractors will generate and send individual punchlists to each selected subcontractor. Enter custom messages in the text box and Send.
- Send Punchlist By Location will allow you to send to recipients of your choice. Enter the recipients into the To: box, type your message in the text box and Send.
- Send Punchlist By Item Number will allow you to send to recipients of your choice. Enter the recipients into the To: box, type your message in the text box and Send.

How Do I Send Out Warranty Letters To Be Signed By Subcontractors And Returned?
You will go to Close Out>Warranty Letters to add a start date for the warranty period and complete the Warranty Letter from the General Contractor, as well as send Subcontractors their warranty letters to be signed and returned electronically.

Warranty Letters
Warranty Letters can be requested by the GC to the Subcontractors once the Subs have completed their final billing.
You will enter in the Warranty period and Start Date. Then, save the information. Once saved you will check all and send the request for sub signature to your subcontractors. They will return signed electronically.

How do I complete the Substantial Completion Letter?
You must have an AIA Unlimited Single Seat User License or ConsensusDocs Unlimited Single Seat User License to have the capability of completion the Substantial Completion Letter. The forms are the AIA G704 Document, ConsensusDocs 280, or ConsensusDocs 481. You will complete the form-fill areas, then sign and send it electronically to the Owner.
Click on Close Out>Substantial Completion Letter

Choose the form you wish to complete from the drop down.

AIA G704

ConsensusDocs 280

ConsensusDocs 481

Complete the form by filling in the boxes. When you have finished, Click Save>Sign Completion Document to finalize.
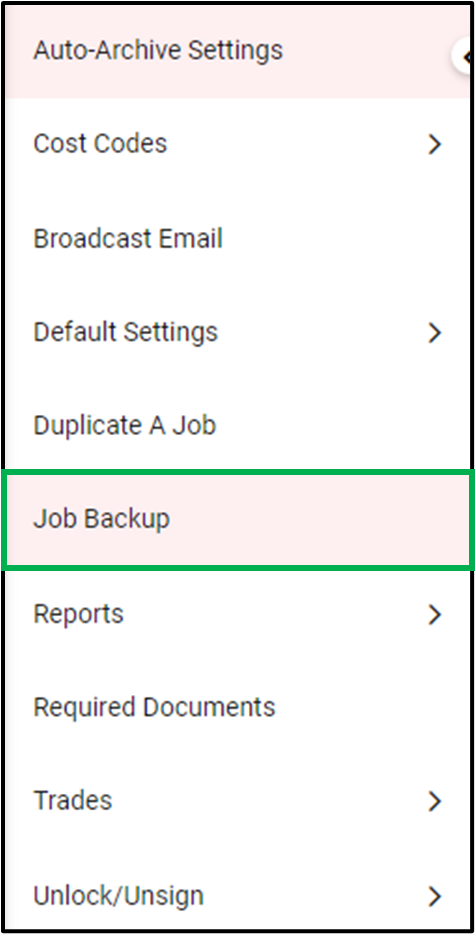
How Do I Create A Job Back-Up File?
You will create a Job Back-Up file by going to Profile>Administration>Job Back Up

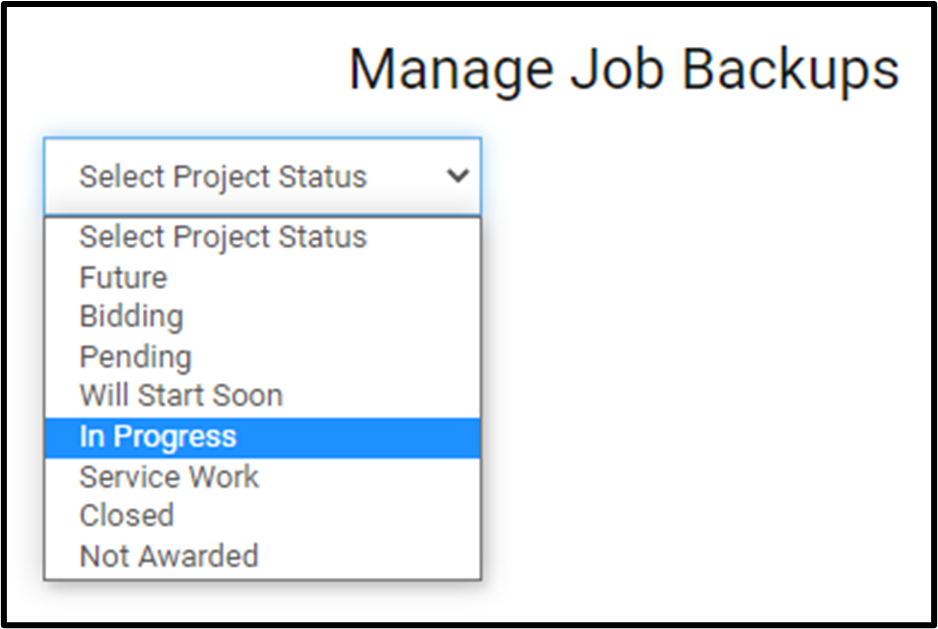
Then you will select the Status your project is currently in.
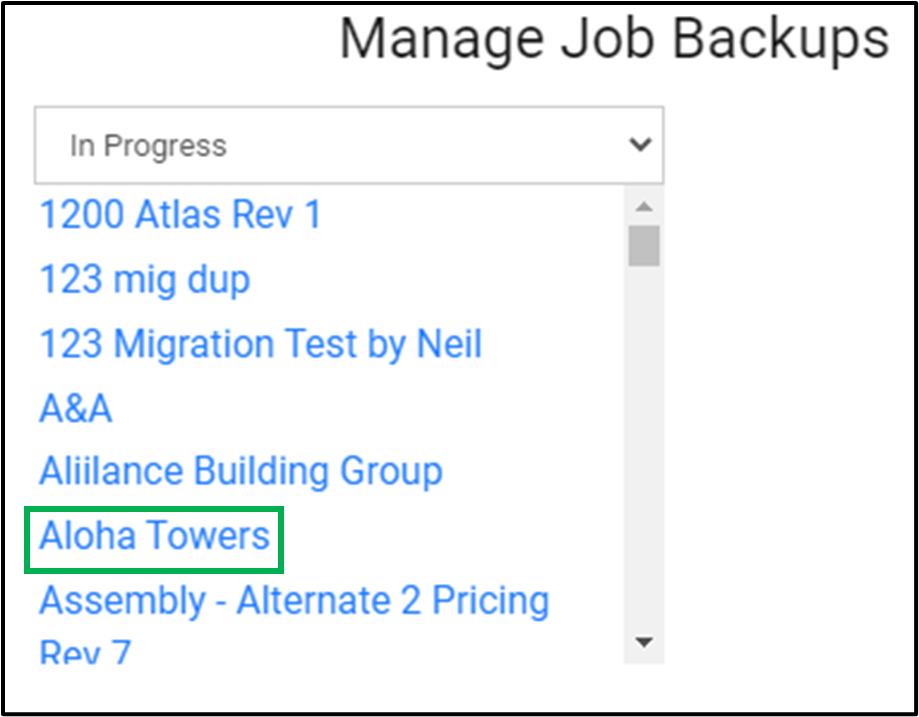
Select the Project
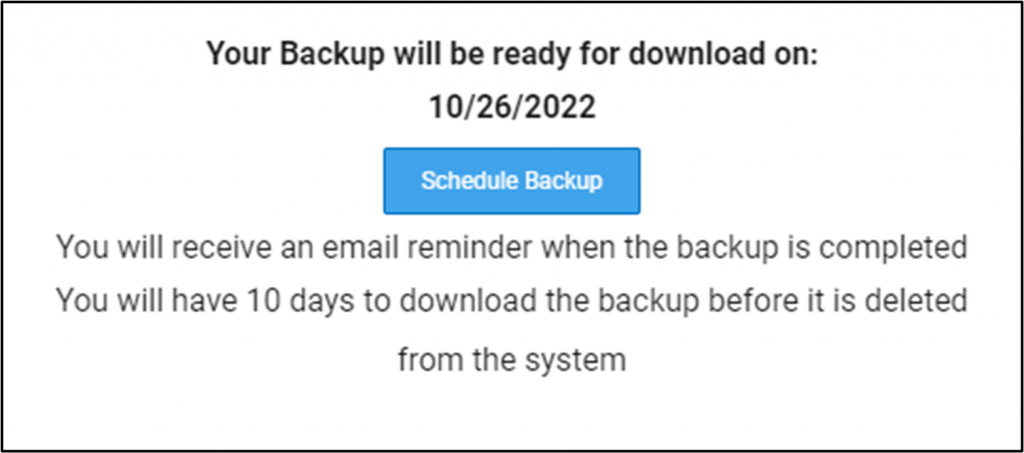
Schedule Back Up
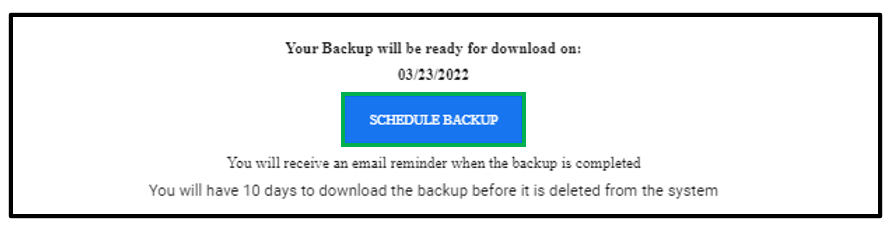
Schedule Backup
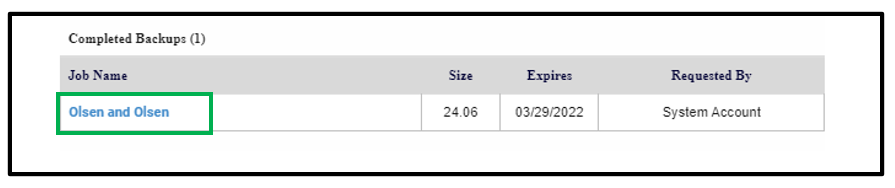
Completed Back Up
This is what the completed back up will look like. You can click on the blue hyperlink to access the file. You can also see the file size, expiration date to access, and who requested it.