

- Home
- Upcoming Live Training Sessions!!
- Webinar Recordings
- Implementation Courses
- Getting Started Guide For Admins
- RedTeam Go Navigation
- Gear Icon
- Administration
- Contacts
- Projects
- Planroom
- Estimate (Base Bid)
- Bid Invitations
- Proposal Package
- Construction Buy Out
- Contracts
- Daily Logs
- Photos
- Billing
- Schedules
- Submittals
- Transmittals
- Request For Information (RFI)
- Potential Change Orders (PCOs)
- Change Orders
- Owner Change Orders
- Subcontractor Change Orders
- Internal Change Orders
- Meetings
- How Do I Add Meetings?
- Close Out
- Job Costs (Purchase Orders & Expenses)
- Required Documents
- Accounting
- Reports
- Superintendent
- Subcontractor
- Architect
- Owner
- Mobile
- Release Notes
- Glossary of Terms
- Accounting
Hello. How can we help you?
How Do I Create A Schedule?
To add a schedule, Click on Daily activity > schedules

If you choose to Create a Schedule, choose options for Existing Templates and Cost Codes, Then confirm the Schedule start date.

The schedule page will open for you to begin building the project schedule.

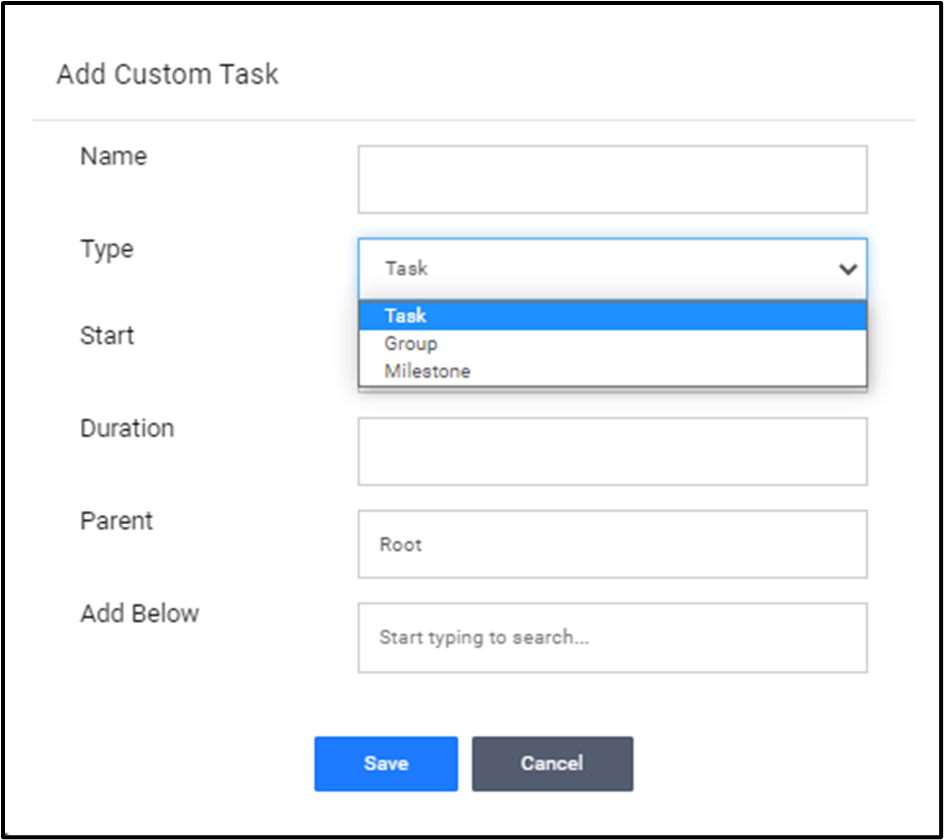
From the schedule uses can ADD:
- Cost codes
- Custom tasks
- Groups
- Milestones

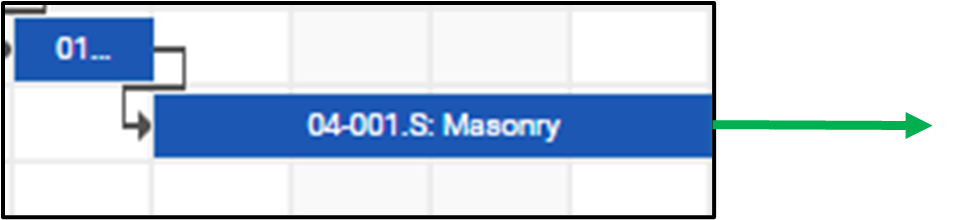
Manipulate Tasks and link on Gantt Chart
To manually link tasks, click the finish bubble and drag it to the start bubble of the preceding activity.

Drag the Gantt bar to the right to establish task duration.
Double click on the Gannt Bar to open the task details screen, or click the task item on the left column to open the task details screen
From the task details enter the task start and end dates as well as the duration, resources, and status.
Add links to dependent and preceding activities, select the relationship, add lag time (positive or negative)
Once a relationship is established and needs to be edited or deleted, double click the taskbar to open the task details window. Click the trash can icon to remove the relationship link, and then save.

Toggle to full screen for more workspace

Use the drag/drop icon next to the task on left column to move task locations up or down to arrange in order.

Zoom in and out changes the scale from day, week, and month views. Change here before you print to change the schedule view on PDF.

Click “link in sequence” to link all activities between the project start task and substantial completion task in a finish to start relationship and show activities in the critical path.
Note: do not use link in sequence if you already have other custom links or dates established or those will be replaced.

Click “remove all links” to unlink the sequence

Print will create the PDF of the current view on-screen view. The schedule will automatically print for the full date range of the project. Update the date range to print look-ahead schedules.
